
Creative Warm Up - Watercolour Bubbles
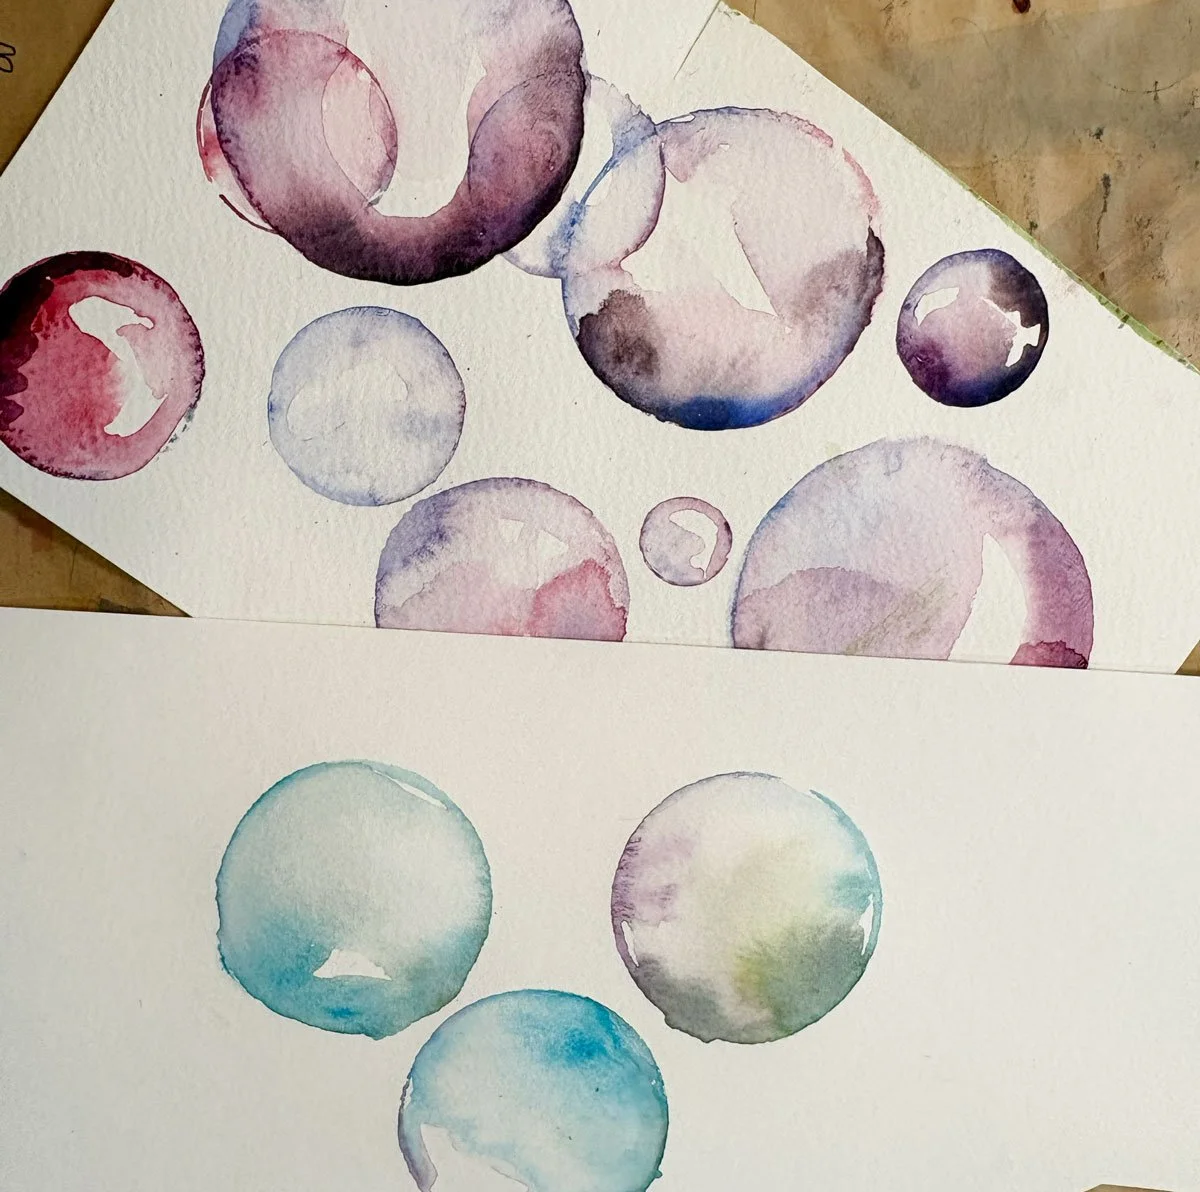
Watercolour Paint Bubbles
I tried to combine the watercolour bubbles with a koi fish painting but, truly, all they really wanted to do was create a full page of bubbles in different colours and sizes. It’s a really fun and rewarding thing to do!
Things you need:
• shot glasses or small cups or cookie cutters that are round.
• paint, water, and a brush.
• watercolour paper works best for this one.
You can try a few things:
• start with one colour or go straight to multiple colours
• try your best to keep it a tight circle. I was filming my bubbles so I wasn’t able to keep all the paint within the circle.
• draw something in your bubble. A goldfish or a
• use your bubbles in a painting. I added mine to a koi fish painting.
• if you didn’t end up leaving enough white or light areas to create the illusion of a bubble, try dabbing it with a tissue.
• I like to start with very light paint and then add the darker colours or more pigment after, while it’s still wet.
How do make watercolour bubbles:
• add watery paint to your palette or a larger flat surface.
• put the round opening of your shot glass into the wet paint.
• stamp the circle on your watercolour paper.
• wet your brush and make the middle of your bubble wet (not the entire thing) and then connect your painted circle to the watery middle so the paint starts to bleed in. You want to keep some of it lighter!
If you’re interested in watching a video on how I painted the bubbles, join Brina’s Creative Side. On Brina’s Creative Side you’ll be able to follow her video making these metal surfaces. Becoming a member gives you access to all of the previous and upcoming posts which include printables, more photos, detailed instructions, videos, and customizable options for each art project. Perfect for teachers, art instructors, parents, or any one of any age who might want a bit of creative inspiration.